Workflows Overview
A Workflow orchestrates multiple processors into a single document pipeline — for example, classify a document, route it to the right extractor, validate the result, then deliver it to your webhook. Workflows are async-only and run end to end on each file you submit.
This guide walks through the full lifecycle via the API: create → configure steps → deploy → run. Prefer a visual canvas? See Prefer the dashboard? at the end.
1. Create a workflow
POST /workflows creates a workflow and initializes an empty draft.
Python
TypeScript
Java
Go
cURL
2. Configure the steps
A workflow is a graph of steps. Each step has a name, a type, an optional config, and a next array that defines where documents flow after it completes. Every workflow begins with a TRIGGER step followed by a PARSE step.
An EXTRACT step can reference a published extractor by its processor id and version (create the extractor first — see Processors and the Extraction overview), or embed the full extractor configuration inline with extractorConfig — no saved extractor needed. See Saved processors vs. inline configs.
Update the draft’s step graph with POST /workflows/{id} (update workflow):
This is the heart of building a workflow. For the full catalog of step types, routing rules (classify/split branching, conditional logic, validation), and complete patterns, see Configuring Workflows.
3. Deploy a version
Steps accumulate on the workflow’s draft. To make the workflow runnable, publish an immutable version with POST /workflows/{id}/versions (create workflow version):
Python
TypeScript
Java
Go
cURL
See Workflow Versioning for how draft, latest, and pinned semver versions behave.
4. Run the workflow
Submit a file to a deployed workflow with POST /workflow_runs. Workflow runs are asynchronous — poll with the SDK helper or receive results via webhook.
Python
TypeScript
Java
Go
cURL
For high volume or long-running pipelines, prefer webhooks over polling. See Asynchronous Processing and Batch processing for running many files at once.
Prefer the dashboard?
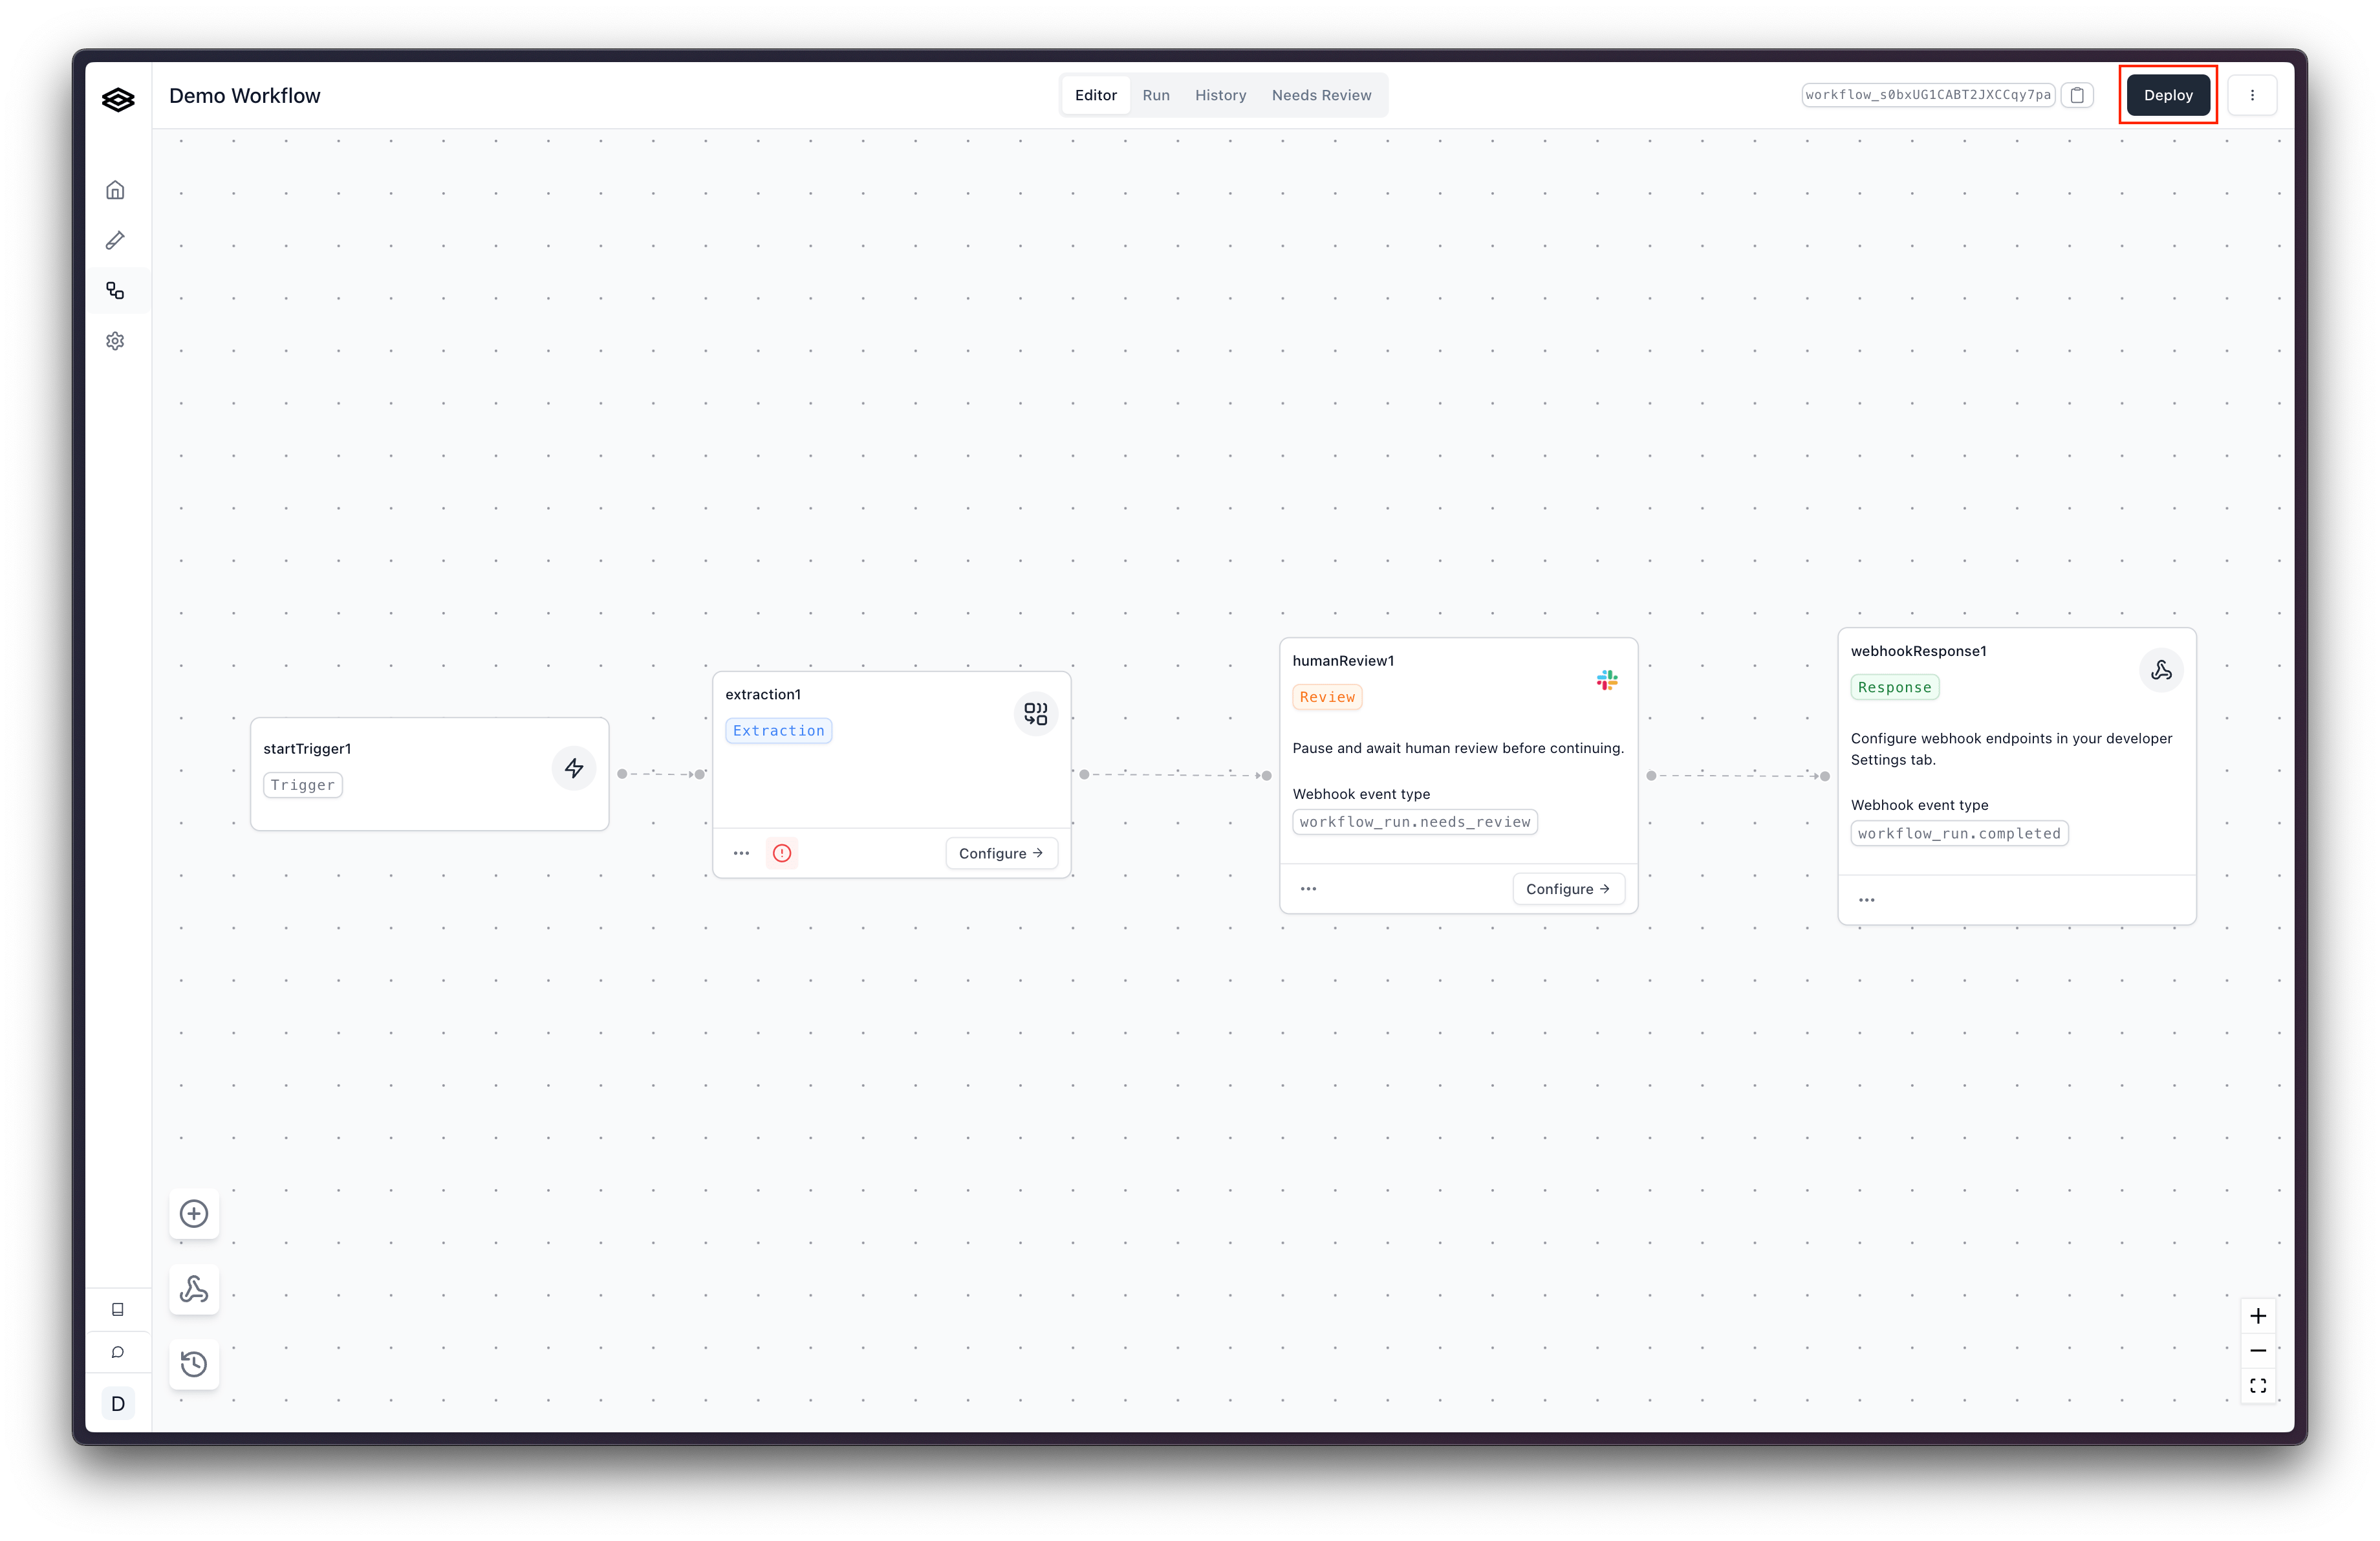
Extend Studio provides a visual canvas for the same lifecycle — drag steps onto the canvas, connect them, and deploy with a button.
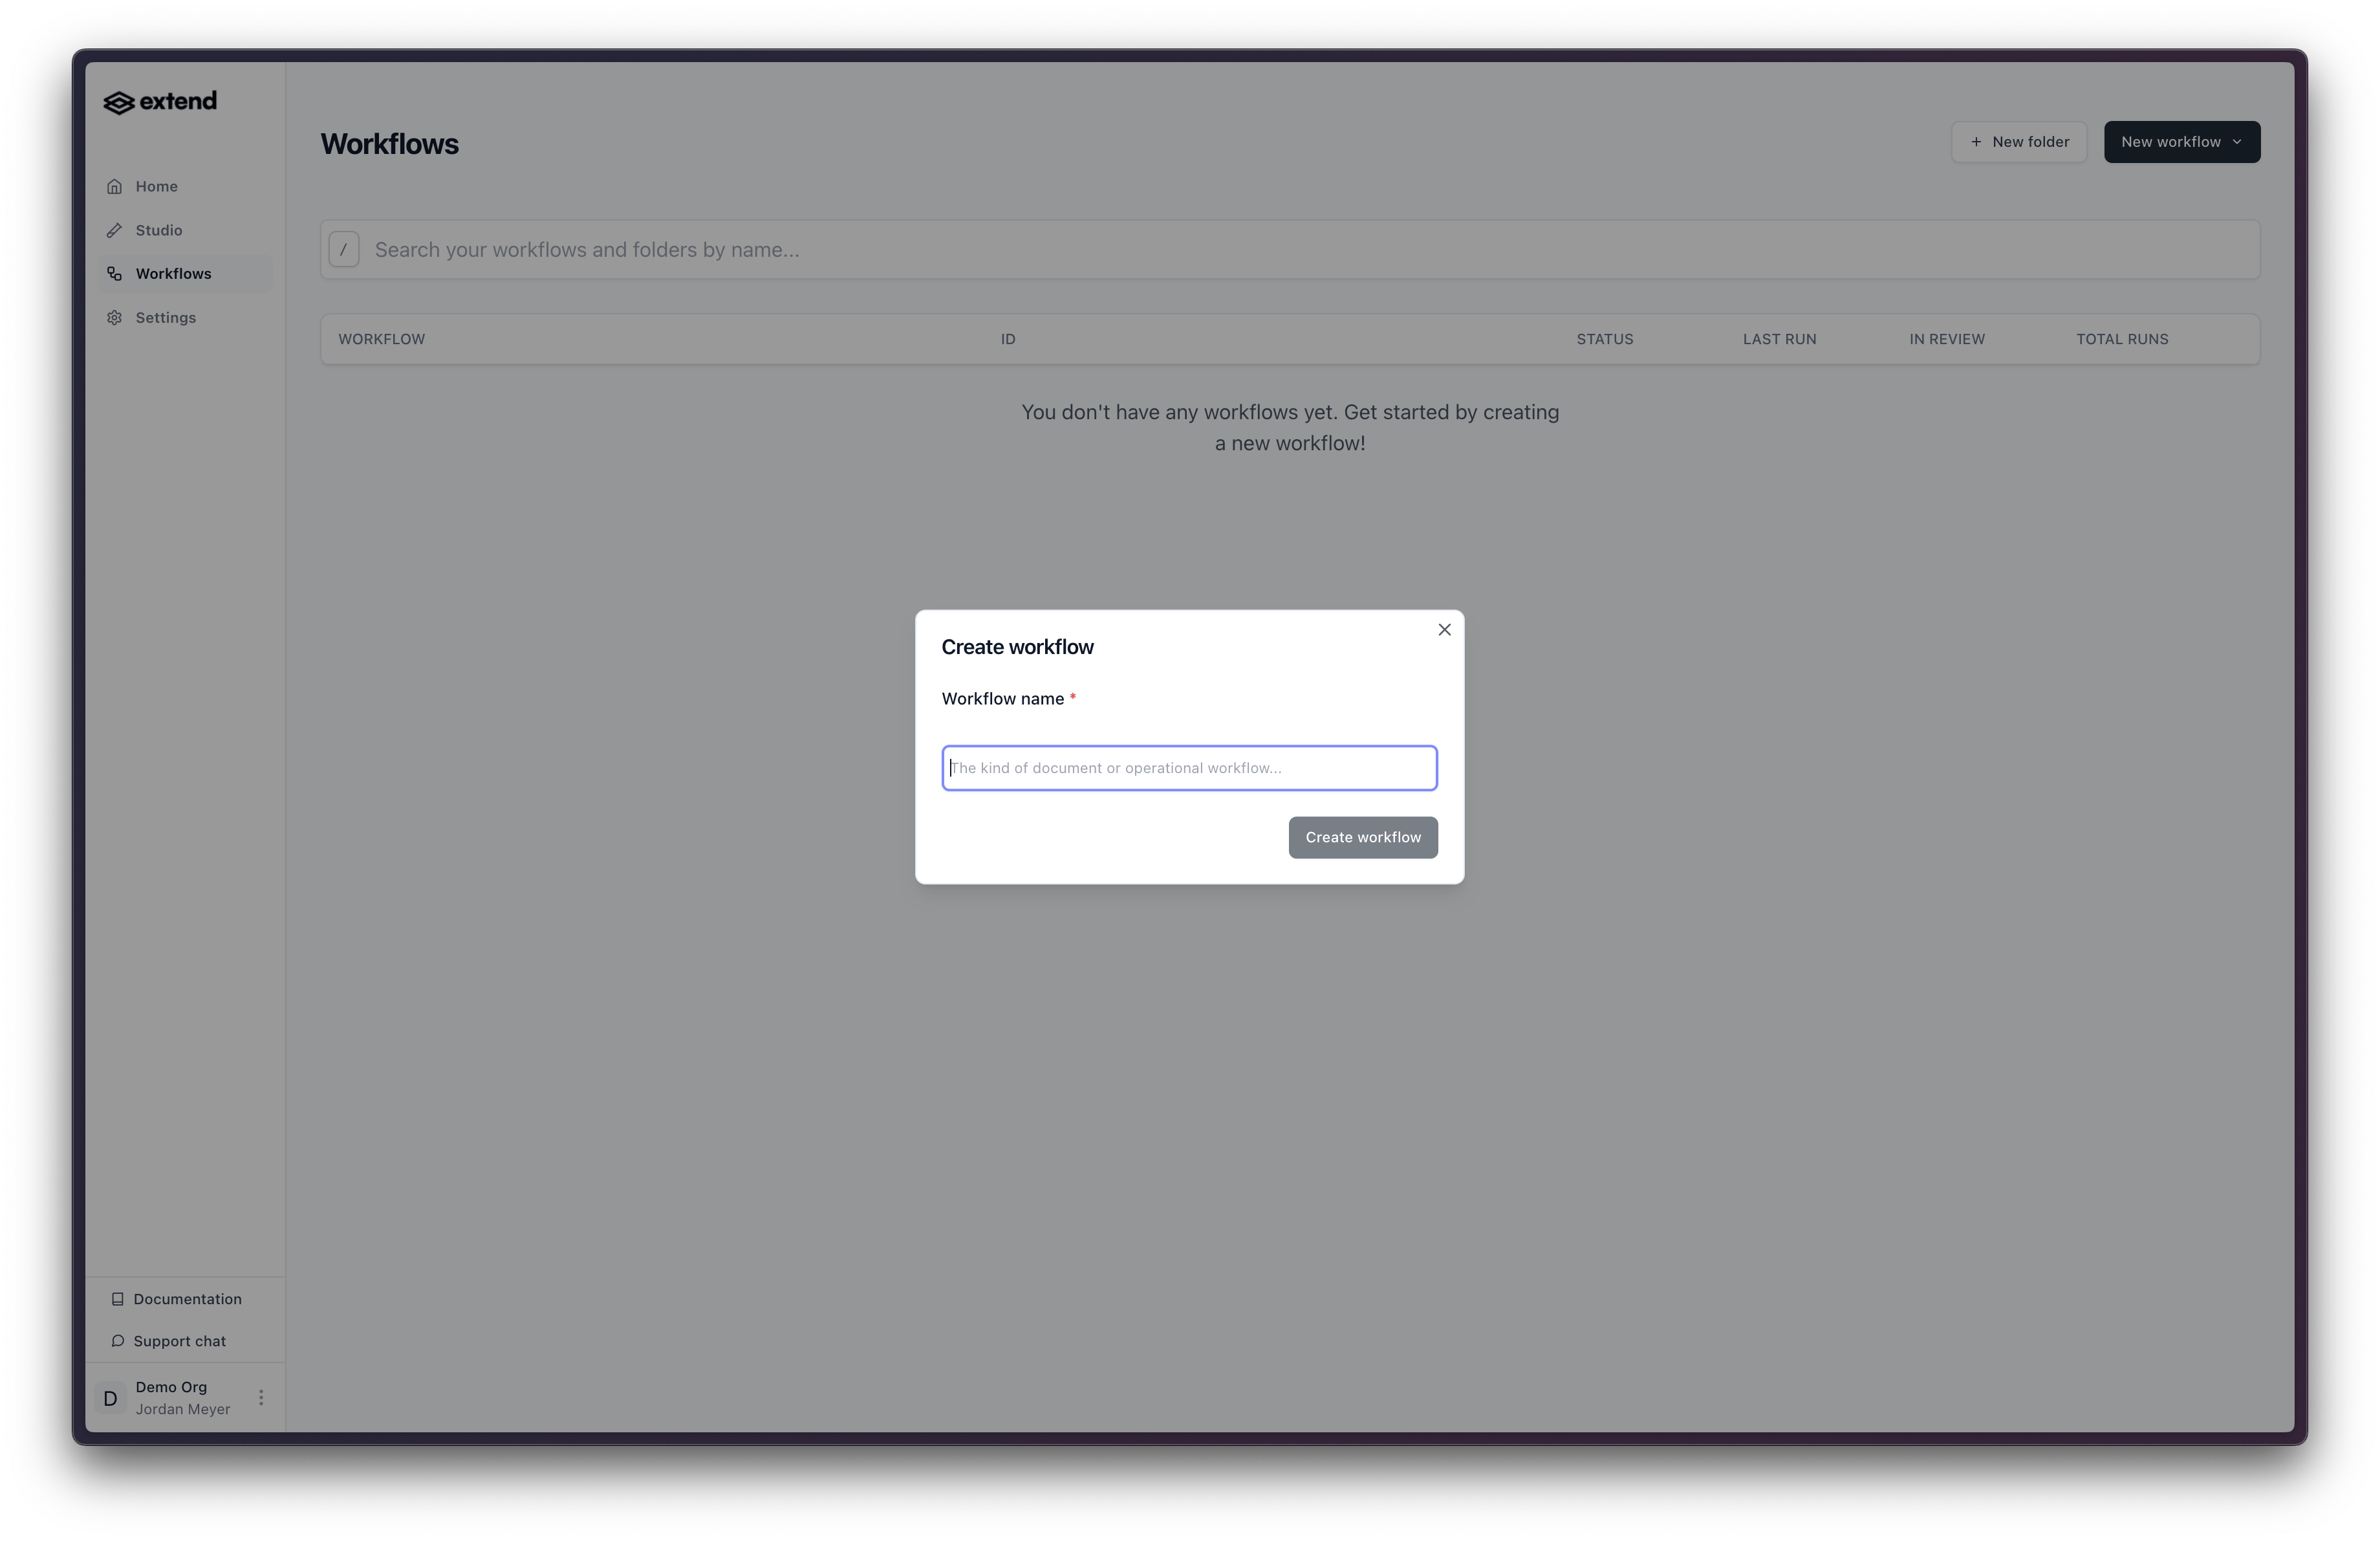
- In the Studio, open Workflows and click Create new Workflow, then give it a name.
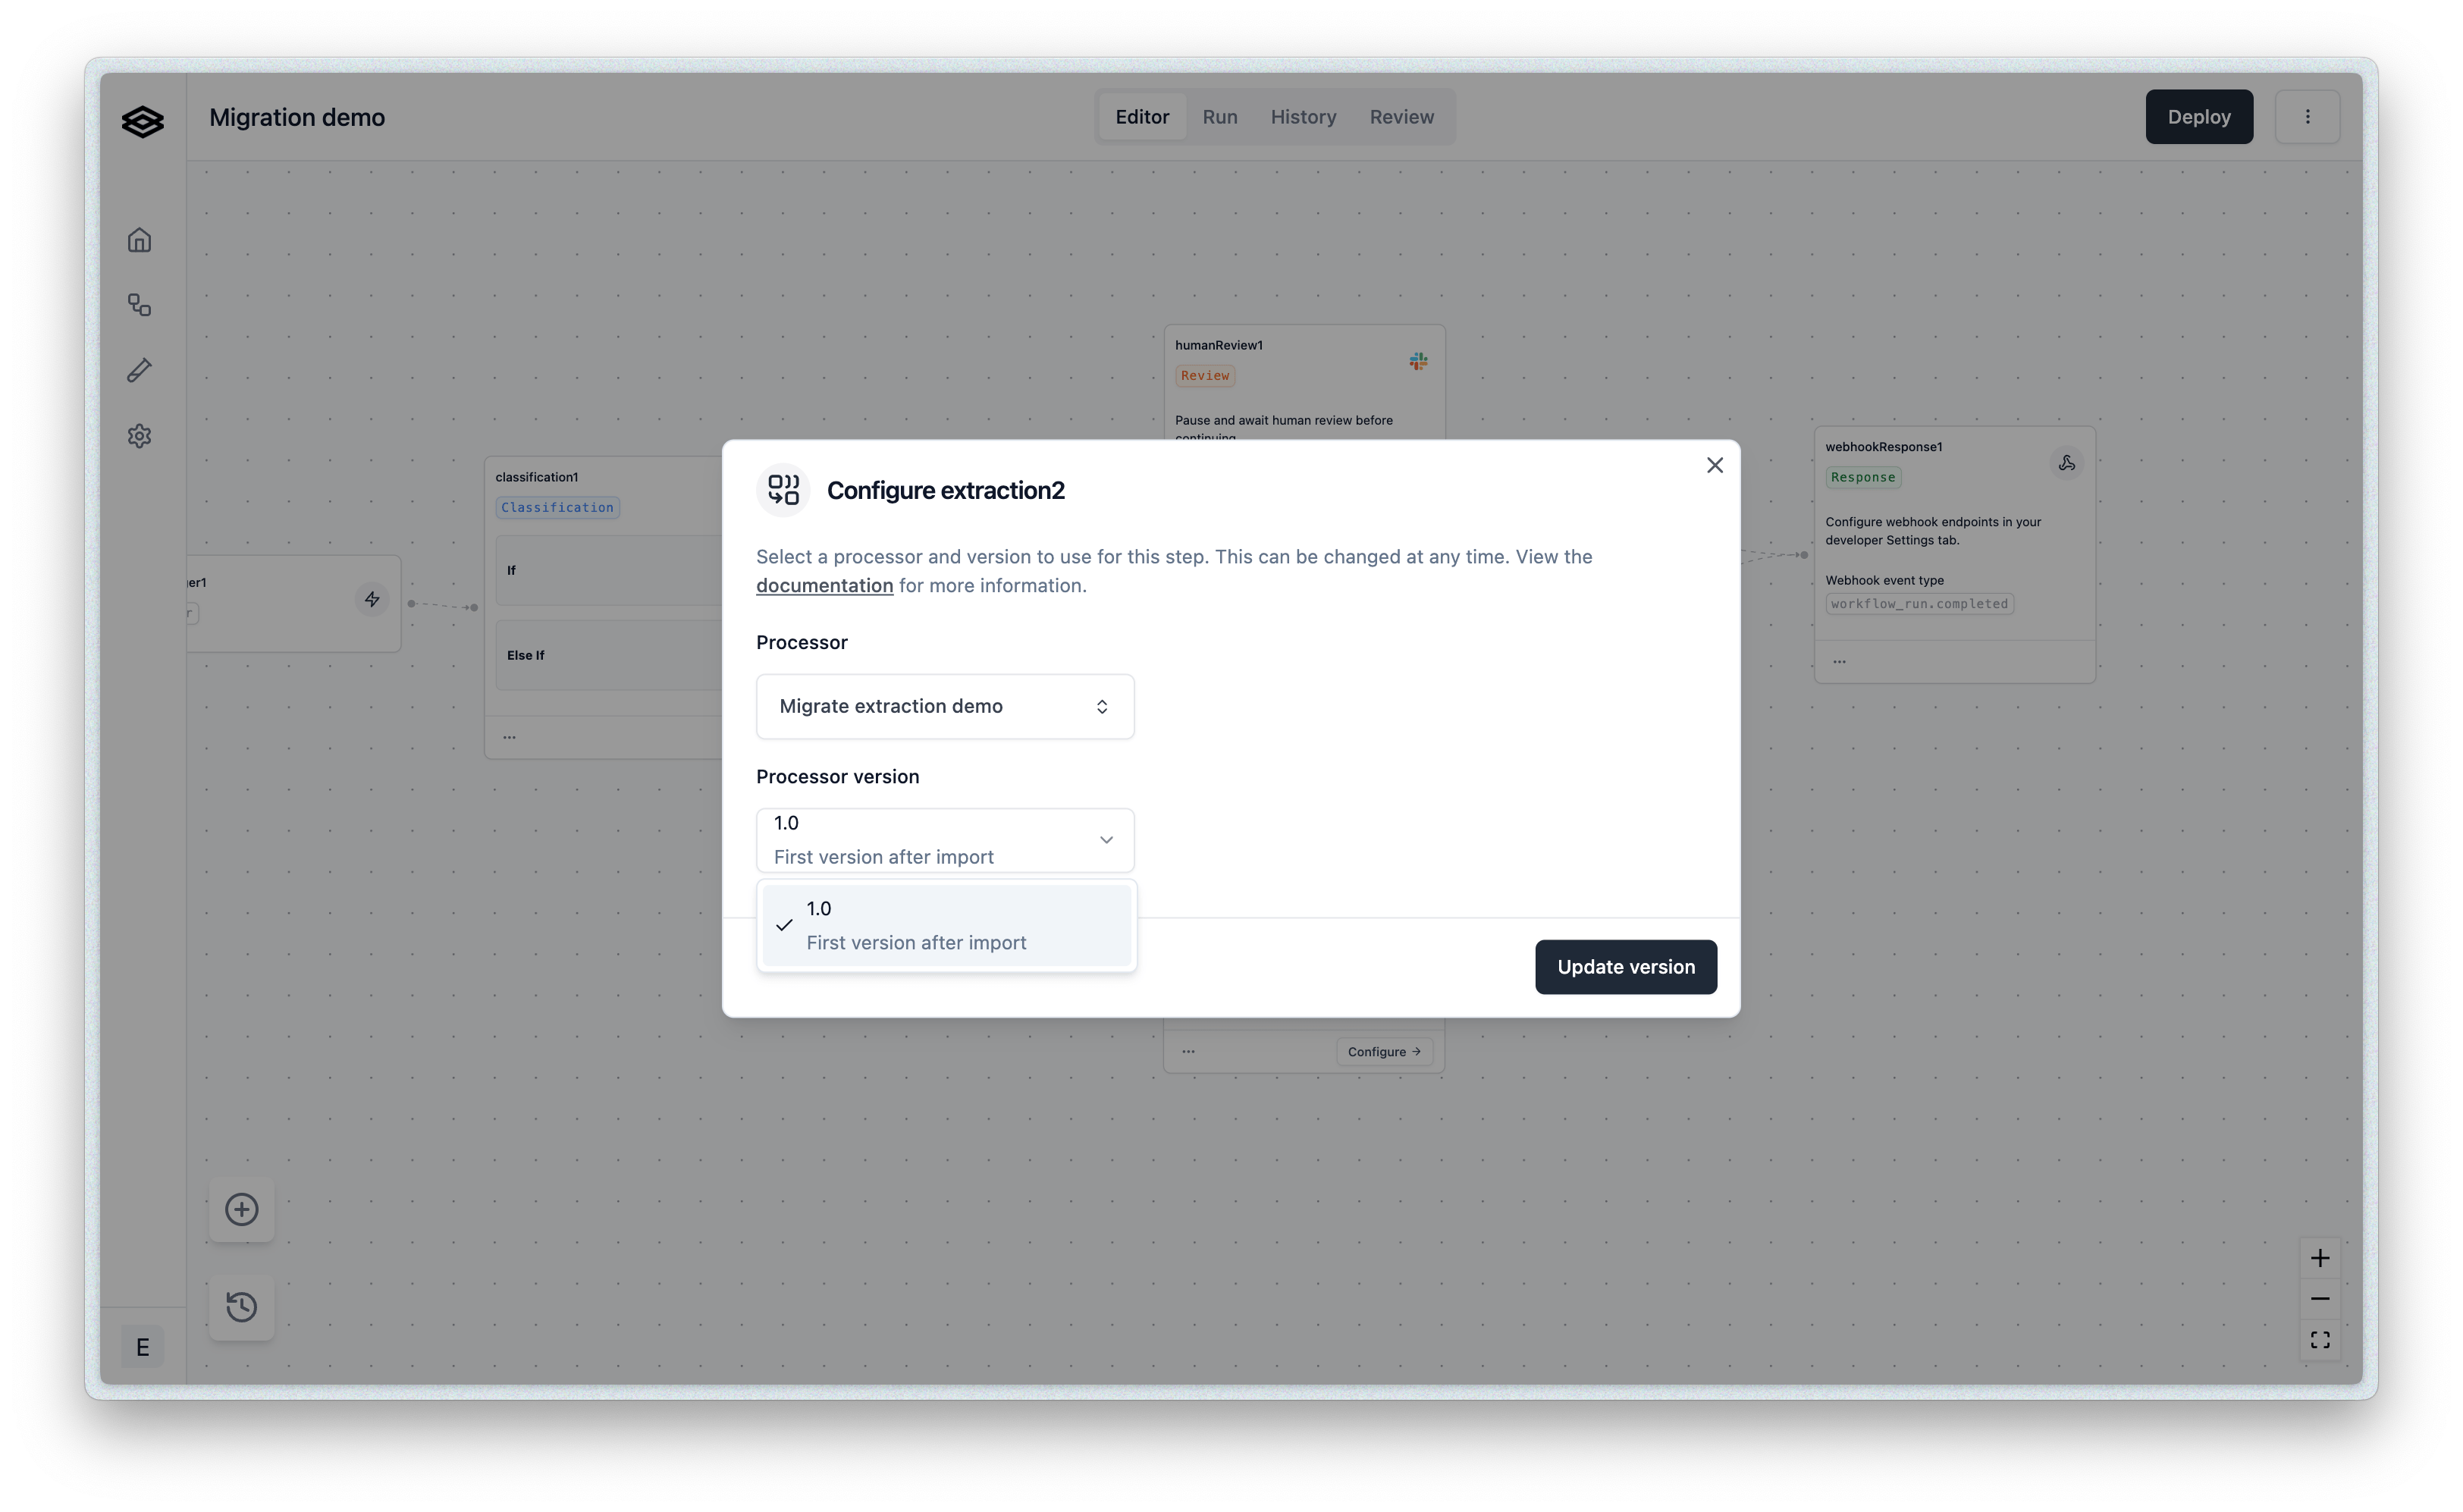
- Drag step types from the Step Drawer onto the canvas and connect them. Select a step to configure it — for an Extraction step, pick your published processor and version.
- Changes save automatically to the workflow draft.
- Click Deploy in the top-right to publish a new immutable version.
Workflows built in the Studio are run the same way — via POST /workflow_runs as shown above.